ThereScope
I was commissioned by The Bob Moog Foundation to design and prototype the ThereScope, a musical learning device designed specifically for elementary school classrooms with theremin-like interaction. Students can explore different waveforms while an accompanying oscilloscope app visualizes the wave shape, amplitude, and frequency. Volume and pitch are controlled with capacitive proximity sensors for an engaging and magical learning experience.
ThereScope
This brief video demo highlights how the proximity of the user’s hands to the brass plates controls the frequency and amplitude of the ThereScope. The three buttons provide opportunity to hold the pitch, volume, and change the waveform between sine, triangle, sawtooth, square, and noise.
I designed and 3D printed the enclosure that houses the Teensy 4.0, custom circuit board, speaker, and audio amplifier. The antennas are hand cut brass plates that pay tribute to Bob Moog’s early Theremins such as the Model 351, Melodia, and Troubadour. The sound-generating code was designed using the FAUST programming language and exported for Teensy.
Photo Gallery:
Schematic
This version of the PCB was designed in KiCad 6.0, though earlier versions were designed in Eagle. The circuit was derived from Gaudi Lab’s Open Theremin V4 and features two oscillating circuits that are sensitive to changes in capacitance.
Printed Circuit Board (PCB)
As the schematic approached completion, I began laying out the circuit. This circuit board layout was optimized for prototyping - I left plenty of space between components and traces knowing that I would be soldering these together myself. There were several test points and solder pads added in the case I made mistakes along the way, which naturally I did.
Assembly
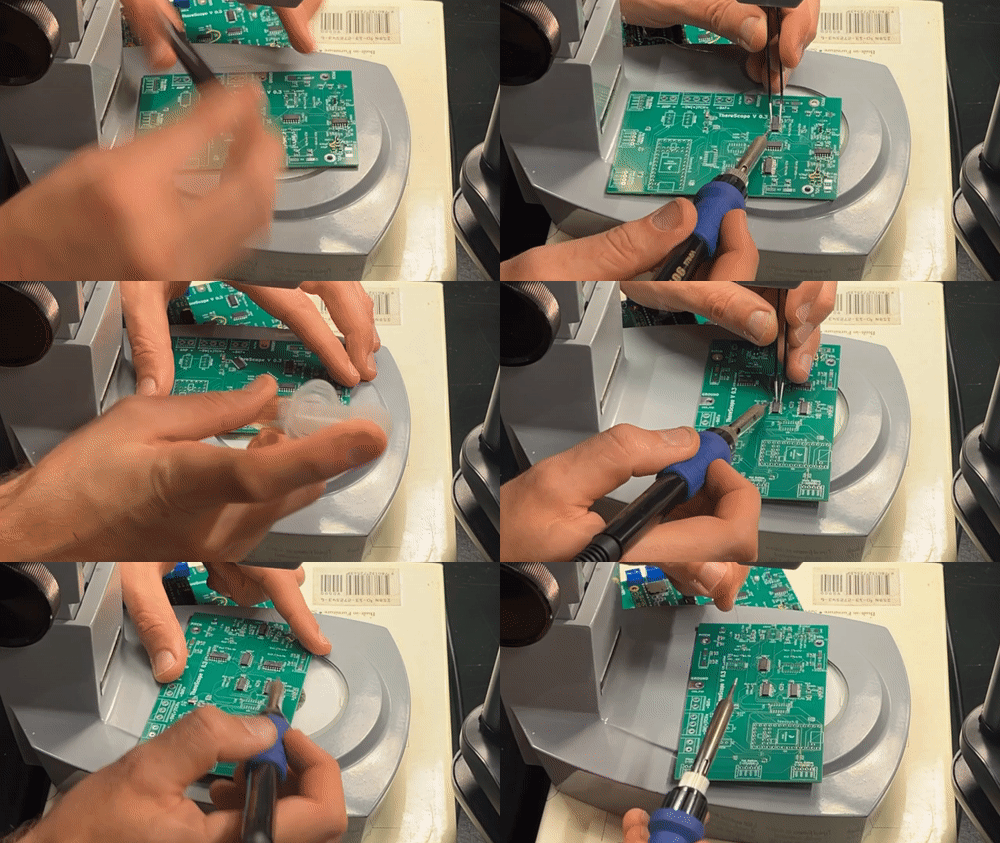
I assembled the first few boards by hand with fine solder and a thin-tipped iron. I find joy in these peaceful moments before I can comprehend how much debugging will be needed.
Completed Board
Here is the first finished board of this version. There were plenty of schematic and layout errors that were manually repaired for the first few boards. The errors I find through the assembly and debugging process are addressed in a new version of the schematic and layout. The next version of this board will be much smaller and optimized for production rather than prototyping.
Early Prototyping:
Very early prototype:
My first prototype of the ThereScope was housed in a Hammond 1590B guitar pedal enclosure and used ultrasonic sensors for sensing hand proximity. The design was compact and durable, but there was not quite enough room for all of the electronics we would eventually need. The ultrasonic sensors did not respond well to hands, so we eventually switched to using radio-like circuitry found in traditional theremins.
Early Enclosure Design
We decided that bigger was better - we planned to use an iPad to display the waveforms, but the enclosure consequently needed to be large enough to support an iPad. Previous attempts to laser cut the large enclosure proved to be a little too fragile, so here is a custom woodworked enclosure that I designed and built instead. Realizing the expense of materials and labor for a large unit like this, we eventually redesigned to a smaller and more compact 3D printable enclosure.
Future plans
There are just a few remaining steps left to optimize the ThereScope for small run production. We aim to get ThereScopes in classrooms around the country to teach the next generation about sound synthesis in early 2023!
Please visit the Bob Moog Foundation’s website to learn more about their wonderful mission.


